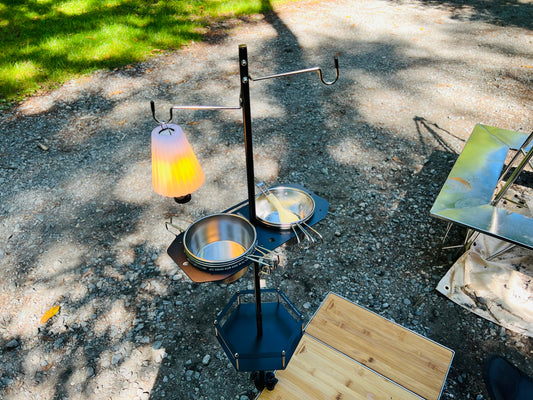

- You will learn how to cook rice in a mess tin.
What is a mess kit?
A mess kit is the prototype of what we now call a cooking pot.
They come in two shapes: round and a modified oval, with the latter being called a "military-style mess kit." The kit consists of a pot, an inner lid (also called a "nakago"), and an outer lid. The nakago can measure 2 cups of rice, and the outer lid can measure 3 cups.
There is a model with a handle on the outer lid, which allows it to be used as a frying pan, and the inner basket can also be used as a serving dish for side dishes.
This article focuses on cooking rice in a Captain Stag mess kit, which is similar to a typical model.
How to cook rice and the steps involved
Add rice and water.
First, wash the rice. If you're using a military-style mess kit, you can wash the rice sufficiently by putting the rice and water in the inner basket, covering it with the lid, and shaking it from side to side.
To measure the water level, level the rice and place your index finger on the surface, aligning the water level with the first joint. This method works the same for any cooker.
It has markings for 2 go and 4 go, but it's a good idea to remember them so you don't get confused when you're measuring in between. Also, there's a rule that 1 go equals 200 ml, but you don't need a measuring cup if you measure with your index finger.
You can cook rice well even if the amount of water is approximate. Unlike cooking at home, even if there are slight variations in the amount of water, and even if it boils over, it will still cook deliciously.
After measuring the water, it's a good idea to soak it for 30 minutes in the summer and 1 hour in colder seasons.
In early spring or autumn when the water is cold, or when you have to cook rice in a place without a water source while traveling by human power (i.e., camping outdoors), pre-washed rice is an option.
It's also good for when the campsite is crowded and you have to pitch your tent far from the water source.
When using pre-washed rice, the amount of water needed is slightly more than when cooking regular rice.
If you were actually cooking it in a rice cooker, the only difference would be that you would adjust it from below the line to above the line.
Since that's not possible outdoors, you can compensate by increasing the soaking time from 30 minutes to 45 minutes or even 1 hour.
If you prepare the rice as soon as you arrive at the campsite, and then set up camp, you can start cooking it as soon as you're done.
Put it on the fire
After soaking in water for the time indicated above, heat it over a flame.
For up to 2 cups of rice, cover with the inner basket and remove the outer lid. For 3 to 4 cups of rice, cover with the outer lid and remove the inner basket.
The removed lids can be used as frying pans for grilling and other cooking. Start with high heat, then reduce to low heat as much as possible once it boils and cook for 15 minutes.
The key here is "as much as possible." When using a stove or gas burner as the heat source, you can adjust it freely, but with charcoal or a campfire, it's all about feel, so just moving it away from the fire is enough.
For smaller burners where adjusting the flame is difficult, you can use a burner pad to adjust the heat.
With charcoal or campfires, it's all about feel, so just moving it slightly away from the fire is usually enough.
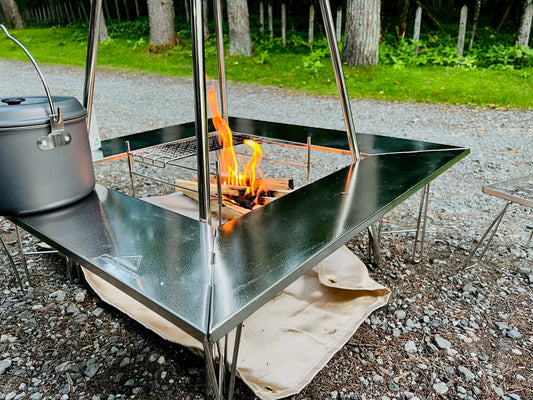
As a guideline, when using charcoal, place the pot directly on top of the charcoal until it boils. Once it starts boiling, move the charcoal to one side to create an empty space on the grill, and then place the pot on the other side.
For a campfire, use a fan or bellows to create flames until the water boils, then flatten the firewood to create embers.
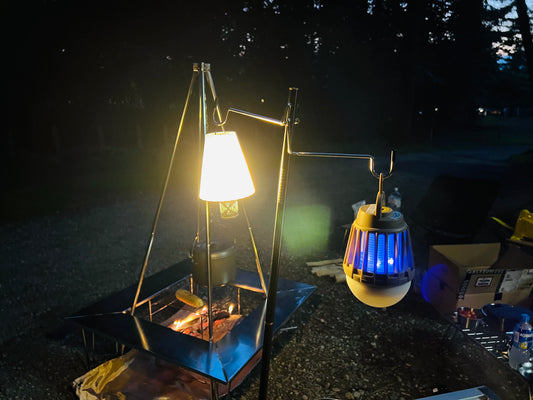
If you have something like a hanger that you can hang it from, you can use that to keep it away from the fire.
When you put it on the heat and it starts to boil, the lid will lift up, so hold it down with a stone or something similar.
I put water in a Sierra cup and use it as a weight. This also warms the water, so by the time the rice is cooked, it's the perfect temperature for miso soup.
(Be careful, as adding the miso after grating it will cause it to boil over.)
Retort pouches can also be heated.
Fold the retort pouch and heat it while rotating it.
By doing so, uneven heating can be reduced.
Heating water this way not only saves fuel and water used to boil it, but also helps you avoid the common "ouch!" sensation when pouring hot water out of the pot.
Steam
After 15 minutes on low heat, remove from the heat and let it steam for another 15 minutes.
In colder weather, they can get cold very quickly, so wrap them in a blanket.
In the summer, the temperature won't drop even if you leave it as is, so leave it unwrapped. The steaming time is not affected by the season.
I once heard from someone in the Self-Defense Forces that you should turn it upside down and rub the bottom with grass to clean it, so I did that for a while, but it didn't seem to make much difference, so I've left it as is now.
Thanks to this, the bottom of my mess kit is all bumpy. However, it doesn't seem to be breaking, so I'm still using it, but I'd advise against it unless you want to enjoy the unique look.
Let's not
If you're eating alone, you can pour the curry or other food directly into the mess tin and eat it that way. However, if you're sharing with others, a spoon is more convenient than a rice paddle.
A rice paddle is too big, difficult to handle, and has no use other than serving rice, making it impractical for outdoor use.
In that respect, a spoon naturally becomes cutlery as is.
I use a spoon that I bought a long time ago, called an "omelet rice spoon," which has one side of the tip straight.
With this method, you can easily scoop out rice that has stuck to the corners and walls of the bottom of a deep mess jar without any hassle.
summary
Unlike cooking in a rice cooker, the rice can sometimes be too hard, too soft, or even burn, but let's enjoy that as part of the fun of cooking rice in a mess tin.
With practice, you'll get the hang of cooking it well. With delicious rice, you'll be able to enjoy a satisfying meal with almost any side dish.